
10 Steps to Create a Rockstar WordPress LMS Website
A WordPress LMS website is a great way to provide your employees or students with a robust and engaging learning experience. It provides an online space for learners to interact with each other and instructors. It typically includes features such as gradebooks, assessments, chat rooms for learners and instructors to communicate with one another.
To create an effective site, you need to first understand what makes it tick. In this blog post we will cover the 10 steps that are required for creating a Rockstar WordPress LMS Website.
Step 1. Understanding the LMS
First, you need to understand what an LMS is and how it works. The acronym stands for Learning Management System which can be a website or software application used by businesses, educational institutions, non-profits etc., to deliver learning content through online courses via the internet. It allows organizations to build customized training programs that cater specifically to their needs.
The LMS was originally designed to be a repository of all the course content that an organization or institution needs, but it has evolved over time and now also includes features like assessments, gradebooks etc., for delivering courses.
Step 2. Finding the Best WordPress Theme for Your Needs

Choosing a WordPress theme will be one of the most important decisions that you make when starting on this project because it will ultimately determine how your site looks and feels. A good choice could save hours or even days in development time down the line as well as reduce costs by keeping a designer from re-creating things like headers, menus etc.,
A few themes come with built-in support of poular LMS plugins like LearnDash, TutorLMS which can help you build an engaging experience such as LearnDash’s course builder, TutorLMS Frontend course builder where instructors can create courses without any design skills needed!
Steps to finding the right theme – ask yourself:
- What kind of design do you want?
- Is it responsive so that users on mobile devices and tablets can enjoy your website too?
- Does it have features already built-in which will help make my site stand out from others in its niche?
Steps if WordPress Theme is not good enough: Customize by either hiring a WordPress Design Company or exploring other templates until you find one that matches what you’re looking for!
Step 3. Choosing a WordPress LMS Plugin for Your Online Courses
Thirdly, choose a plugin to complete your LMS installation. There are many different types of plugins available depending on what you want your users/students’ experience on your site will be like. We recommend checking out either TutorLMS or LearnDash as these tools provide powerful features such as quizzes and assignments which help make sure learners are progressing through course material at the right pace.
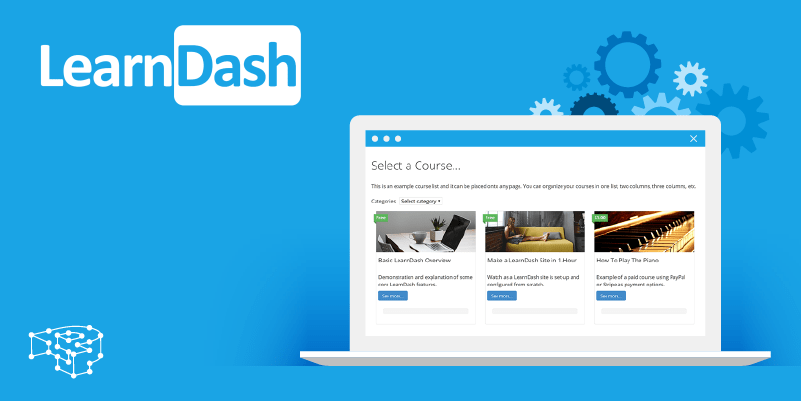
LearnDash
It has many features that can be used to create an engaging learning experience like the video player which is perfect for presentations, quizzes, assignments with a gradebook. It also offers external integrations such as Google Drive or DropBox so users are able to upload their own material into your courses.
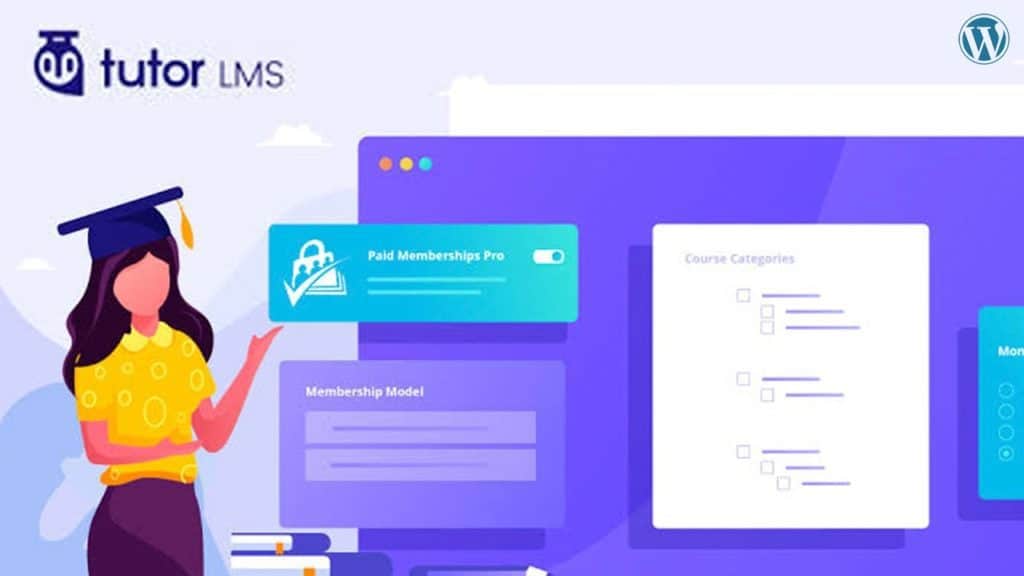
TutorLMS
It is a powerful tool that lets you create beautiful online courses without any design skills needed! The built-in templates make designing stress free by just dragging in text boxes and images from a library and adding videos/audios/slides.
Step 4 :Organize Your Content Strategically

The next step would be organizing content strategically based on what type of courses you plan to offer users or students. You could follow the curriculum outline from schools (like high school), use modules from other websites such as Skillshare or Udemy, or create your own content by combining different types of courses to form a cohesive LMS website.
Step 5: Create Engaging Courses With TutorLMS / LearnDash Plugin

Creating an engaging course is the final step and it’s important that you have all the tools needed for this! To achieve this, we recommend using either one or both plugins as they each offer powerful features like quizzes with unlimited questions, interactive exercises with drag-and-drop functionality etc., which will help differentiate your LMS from others in its niche.
TutorLMS has many features such as assessments and gradebooks which can be used to make sure users are learning what you want them to learn and are progressing through the course.
LearnDash is a great option if you want a powerful platform that offers many features to create an engaging learning experience like video player which is perfect for presentations, quizzes, assignments with gradebook etc.,
Step 6: Optimize Your Site For Mobile Devices And Tablets

The last step is optimizing your site for mobile devices and tablets. We recommend you implement a responsive design which will make sure your website looks great on all screens!
Step 7: Promote Your Work
After you publish your LMS website content or courses/modules for others to use, the final step would be to promote your work.
Promoting your site is an important step as WordPress, one of the most popular website platforms used by LMS websites, has a relatively small market share and it’s difficult for users to discover new sites which are not well-known yet. If you plan on using social media such as Twitter or Facebook then be sure to use hashtags that are related to your niche/industry and include the link.
You could also promote individual courses or modules with a simple text post on Facebook, Twitter etc., which will allow users to subscribe for updates about new content you upload!
Step 8 : The Final Checklist before You Launch your WordPress LMS Website
Once you are satisfied with how your site looks and works in general, all that is left to do would be to give it a final check by going through the following items:
- Are all the pages on your website fully functional?
- Has everything been tested thoroughly for bugs or errors?
- Have you checked for broken links on the website?
- Do all pages load at a fast speed with no errors or popups?
- If there are any unlisted videos on your site
- All pages load at a fast speed with no errors or popups.
If yes, then congratulations! You’ve just created a rockstar WordPress LMS site. This means that you are ready to launch your website and start teaching courses/modules online with no issues.
Step 9: Review And Validate Your Work

The next step would be to review and validate your work. This means that you need to go back and think about how successful your site is in achieving the goals set out initially, for example:
- Does it meet user needs?
- Is it easy enough for users to navigate through courses/modules easily on their own?
- Is it attractive?
- Does the design match industry standards for websites in its niche or is there room for improvement.
Step 10: Learn from Your Experience
The last step would be to summarize your experience and share what you’ve learned with others! You could do this by writing a blog post about how to create an LMS website like we did here.
We hope this list of 10 steps to create a rockstar WordPress LMS website has been helpful to you. If it hasn’t, we have some awesome people on our team who can help design and build your site for you! Contact us today for more information about how we can help with all of your digital marketing needs.