How To Fix WordPress site picking wrong URL for images after migration
At our WordPress Agency, we specialize in migrating staging WordPress websites day in and day out. It’s a crucial task that demands meticulous attention to detail to ensure a smooth transition. Over time, we’ve honed our process and developed a comprehensive checklist to guarantee that every aspect of the migration is executed flawlessly. However, like any web development endeavor, unexpected issues can arise.
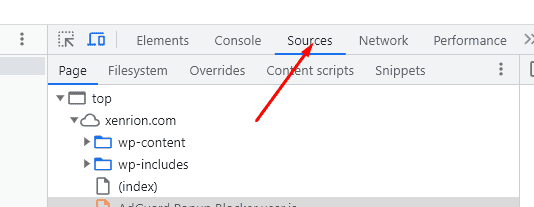
One issue that occasionally surfaces during our migrations is the discovery of image links pointing to the staging environment in the Source panel of the Chrome Inspector. In short WordPress website points to wrong URL for images, css after migration, This can be a nuisance and potentially disrupt the functionality of your newly migrated website.
The good news is that there’s a simple and effective solution to this problem. We recommend using the “Better Search Replace” plugin, a valuable tool in the arsenal of WordPress developers. This plugin simplifies the process of finding and replacing problematic URLs, making your migration smoother and hassle-free.
Here’s a step-by-step guide on how to resolve this issue using the Better Search Replace plugin:
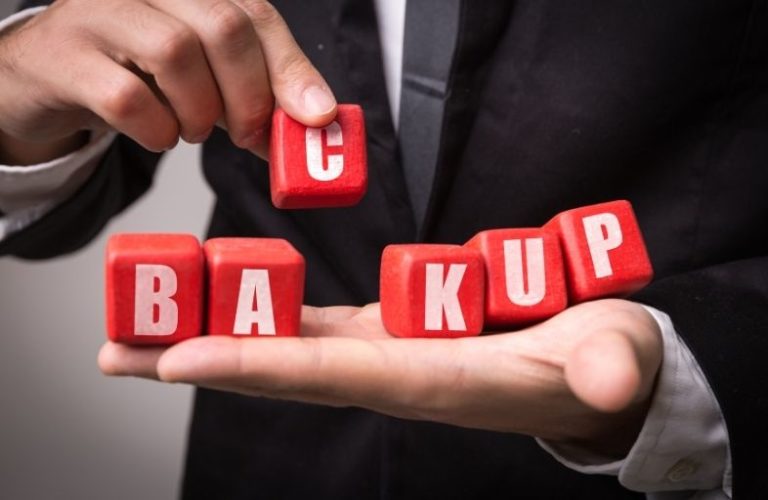
PLEASE ENSURE YOU HAVE BACKUP OF YOUR WEBSITE BEFORE YOU PROCEED WITH THIS STEP
Step 1: Install Better Search Replace
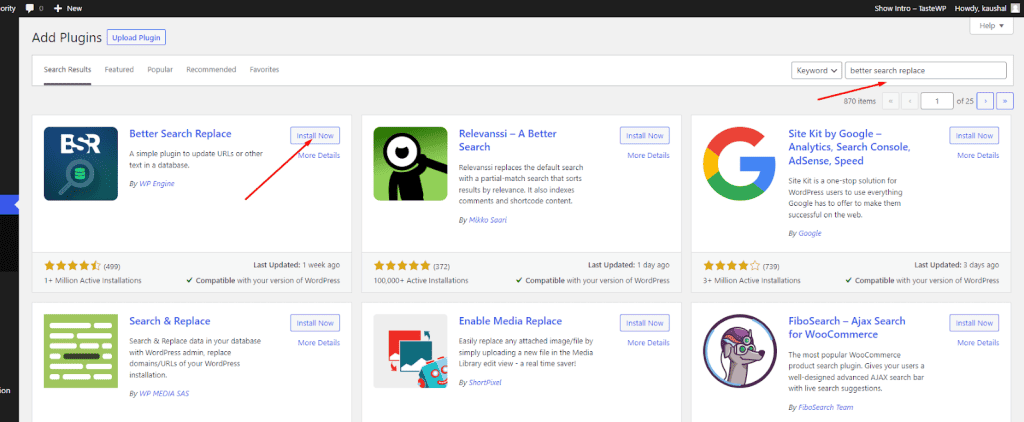
First and foremost, you’ll need to install the Better Search Replace plugin. You can easily find and install it from the WordPress Plugin Repository.
Step 2: Activate the Plugin
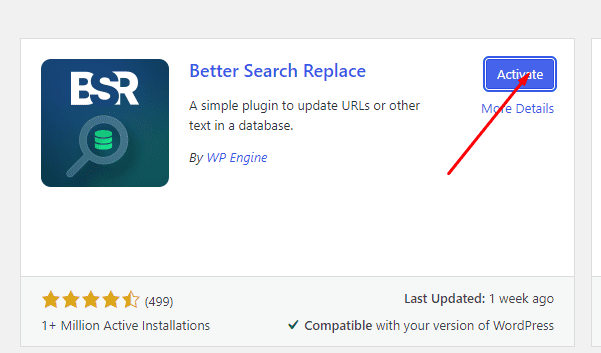
Once the plugin is installed, activate it in your WordPress dashboard. You’ll now have access to its powerful functionality.
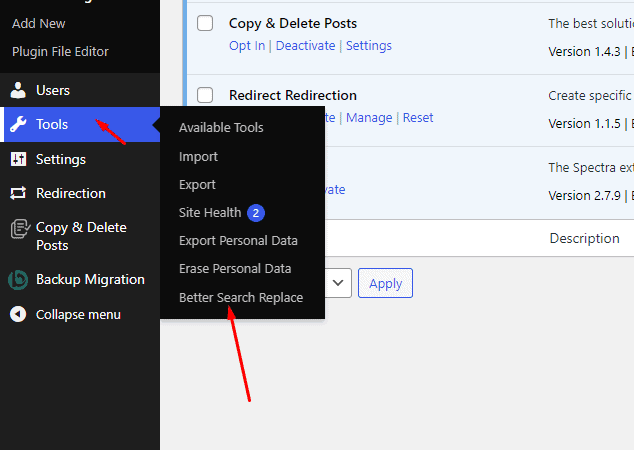
Step 3: Access Better Search Replace
In your WordPress dashboard, navigate to “Tools” and then select “Better Search Replace.”
Step 4: Configure the Search and Replace Parameters
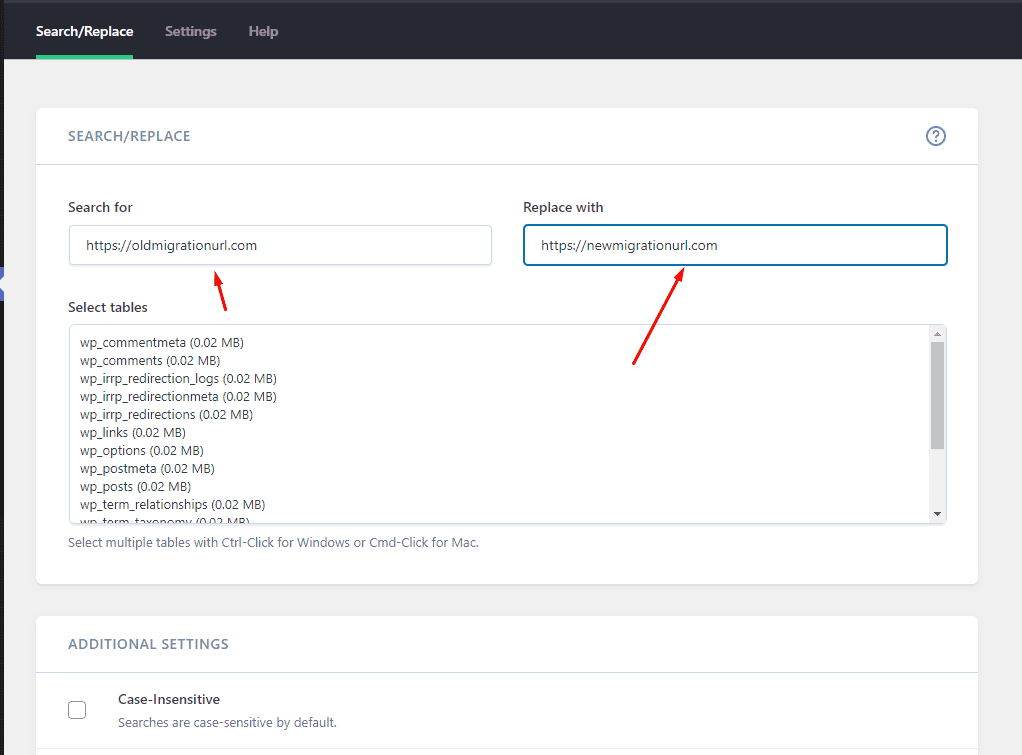
In the Better Search Replace interface, you’ll see two main fields: “Search for” and “Replace with.” In the “Search for” field, enter the staging URL that needs to be replaced. In the “Replace with” field, enter the new URL that should replace the staging URL.
Step 5: Select Tables to Include
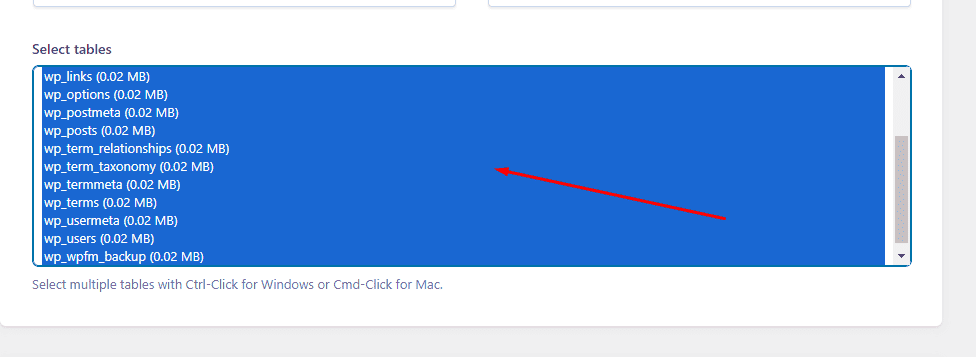
You can choose to include specific database tables in your search and replace operation. For a comprehensive migration, it’s recommended to select all tables by default. This ensures that no image links are left behind pointing to the staging environment.
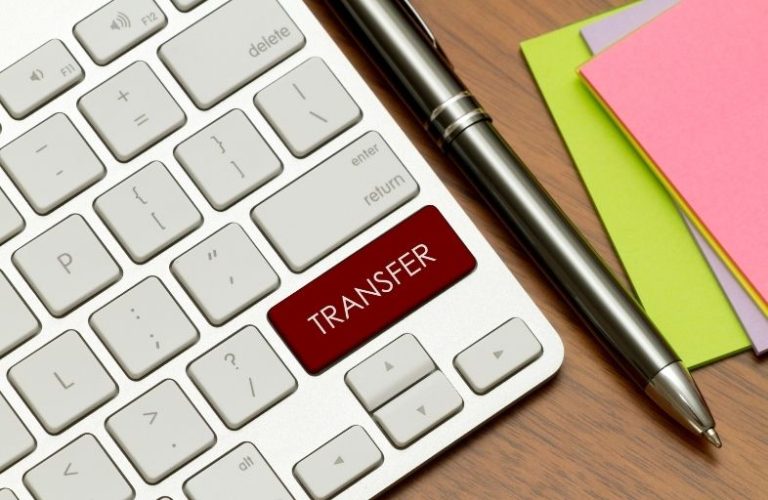
Step 6: Run the Search/Replace
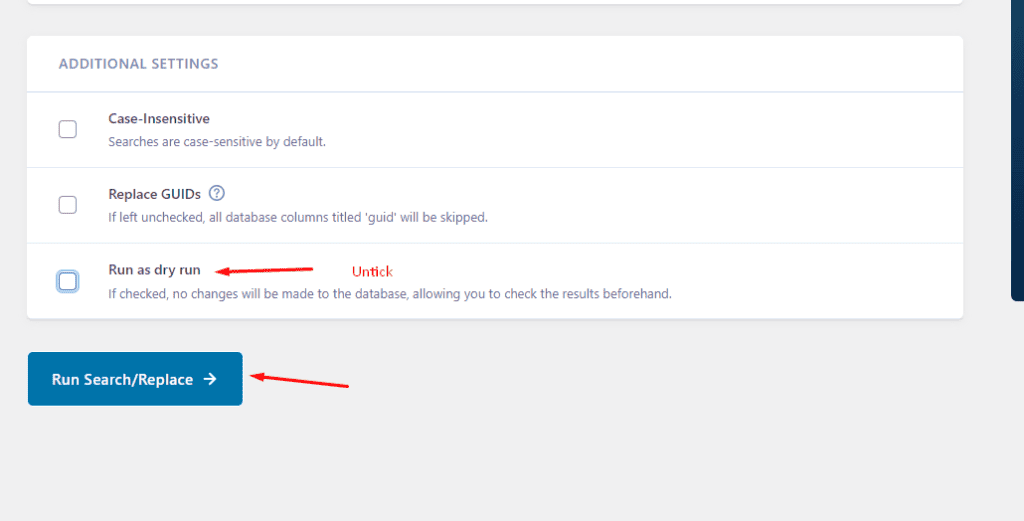
Double-check your settings to ensure accuracy, and then click the “Run Search/Replace” button. The plugin will scan your database and replace all instances of the staging URL with the new URL.
Step 7: Verify Your Website
With the search and replace operation completed, visit your newly migrated website to confirm that all images and links are now pointing to the correct URLs. You should no longer encounter issues with images loading from the old staging environment.
In conclusion, the Better Search Replace plugin is an indispensable tool for WordPress developers and agencies dealing with staging website migrations. By following the steps outlined above, you can eliminate the headache of incorrect image links and ensure that your WordPress website functions seamlessly on its new hosting environment.
Remember, a successful migration not only preserves your website’s functionality but also enhances its user experience. Happy migrating!